
Updated on: February 25, 2021
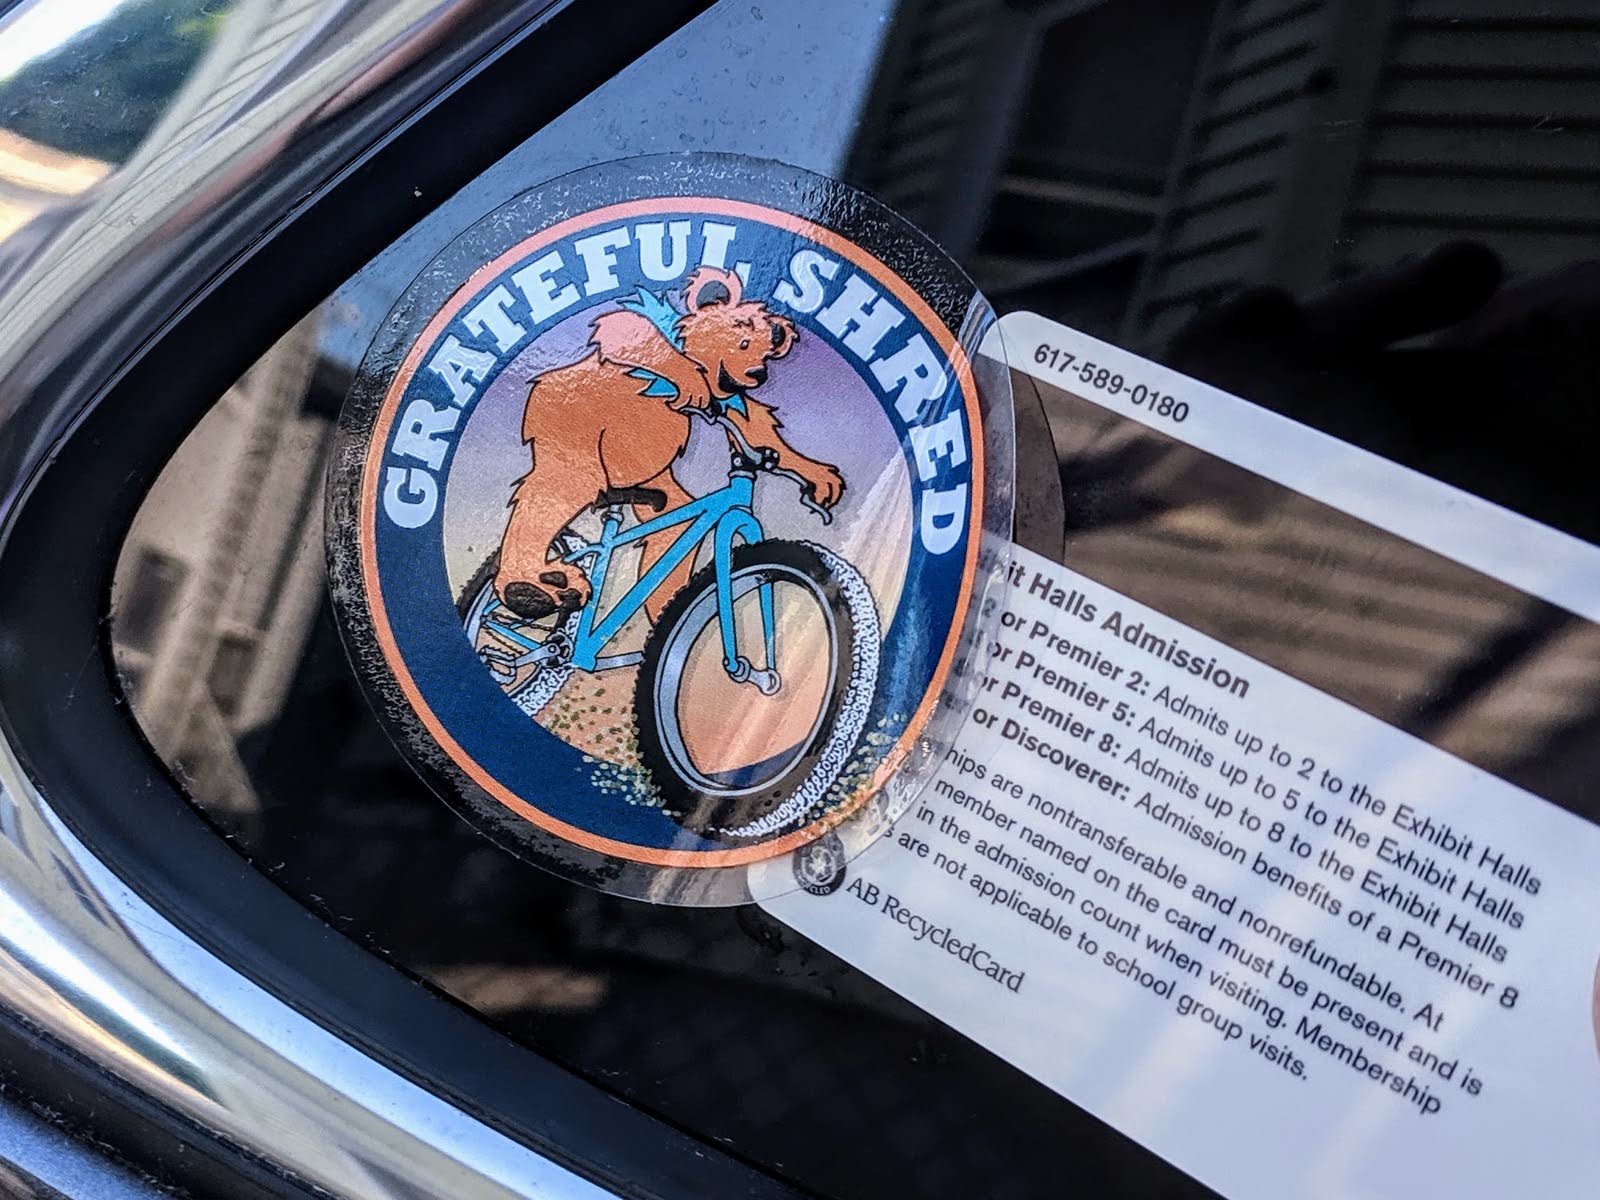
The next time you find yourself stuck in traffic, take a look at the cars around you. More likely than not, you’ll see stickers everywhere. Bumper stickers, parking permits, dealership decals; despite being so common, stickers aren’t for everyone. However, they may make it more difficult to sell your car when you’re ready to move on to a new one.
Whether they’re announcing a local school’s Honor Roll student, pledging support for a political candidate, or car decals acting as an advertisement for a local car dealership, these stickers might turn off potential buyers. It’s trickier to remove stickers from painted parts of your car than glass windows, and you don’t want to try pulling them off without any preparation. To help with the sticker removal process, we have some tips to help get them off your car quickly and safely.
Gather Your Materials
You’ll need a few tools to properly remove a sticker from your car. Most likely, you will be able to find all of them around the house.
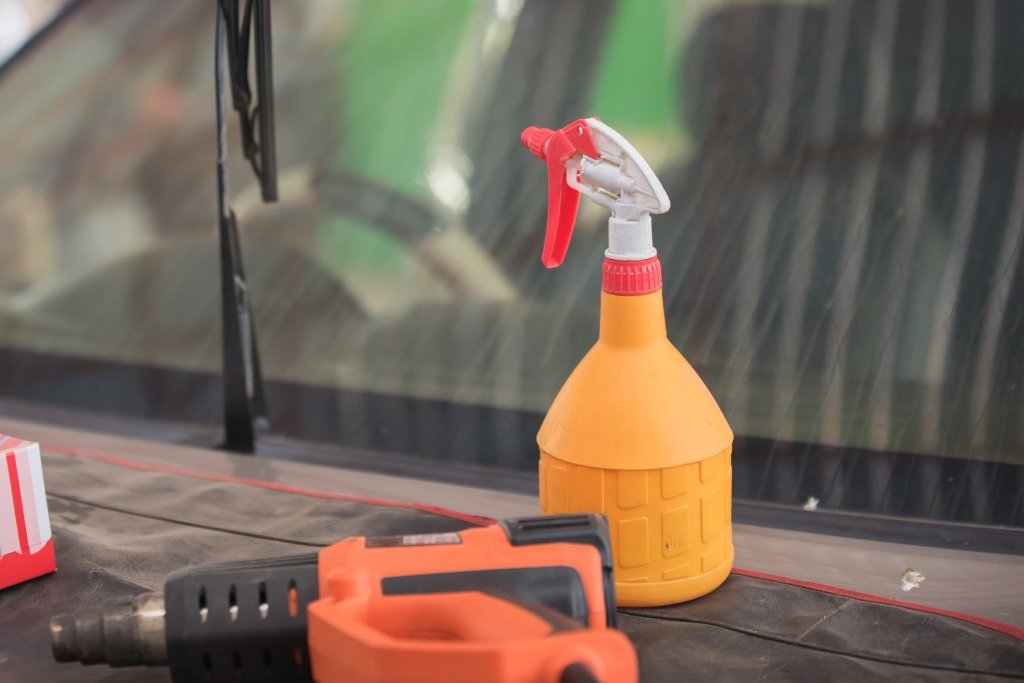
Grab a hair dryer to heat the sticker as the hot air will loosen the glue that it uses to stick to your car’s glass or paint. Even better than a hair dryer (but less easy to find lying around most houses) is a heat gun. This dedicated tool can be found in most hardware stores and will make quick work of stubborn bumper stickers.
Find a sturdy plastic card like an expired library card, an old ID, or a used-up gift card. You’ll use this as a scraping tool to peel the sticker away from the car’s surface, so make sure it’s not a card you need to use regularly, like your current driver’s license, medical insurance card, or a credit card.
A handful of clean cloth rags—preferably microfiber—and some all-purpose cleaning spray, glass cleaner, or window cleaner will help clean up any remaining adhesive. Although it may be tempting, we don't recommend using boiling water, rubbing alcohol, or nail polish remover to dispose of an unwanted bumper sticker as those liquids can damage the car's paint beneath the sticker or decal.
Apply Heat—And Keep It Moving

Turn your hair dryer or heat gun to its “high” heat setting and hold it a few inches away from the sticker you’re trying to remove. Keep your heat source moving constantly and be sure to never hold it directly against the sticker. If you’re trying to remove a sticker from a painted portion of the car, too much heat in one area can damage the paint job below the sticker. Keep your heat source a few inches above the sticker and move it around in the same way you’d move a clothes iron.
Start at the middle of the sticker and, while keeping the hair dryer or heat gun constantly moving, slowly work your way toward the corner of the sticker. You’ll want to attack the sticker’s corners last so they are nice and warm for your next step.
Find a Loose Corner and Be Patient
Moving quickly after heating the sticker, wedge your scraper under the loosest corner and slide it between the paint (or glass) and the sticker. Try to work as smoothly as possible; don’t jab or scratch at the sticker. Don’t expect the entire sticker to come off in one fell swoop, either. You’ll likely rip it and need to start again before all of the sticky residue is gone. Be patient; it’s easy to get frustrated during this step, but careful and deliberate work will take care of most stickers in relatively little time.
Once you have the sticker mostly removed from the vehicle, hit it with some of your cleaning solution and a clean rag. This should clear up any stubborn bits of debris or sticker residue from under the sticker or the surrounding area.
Problematic Stickers Require Creative Solutions
If your sticker doesn’t want to come off, there are some other tricks to loosening it beyond using a hair dryer or heat gun.
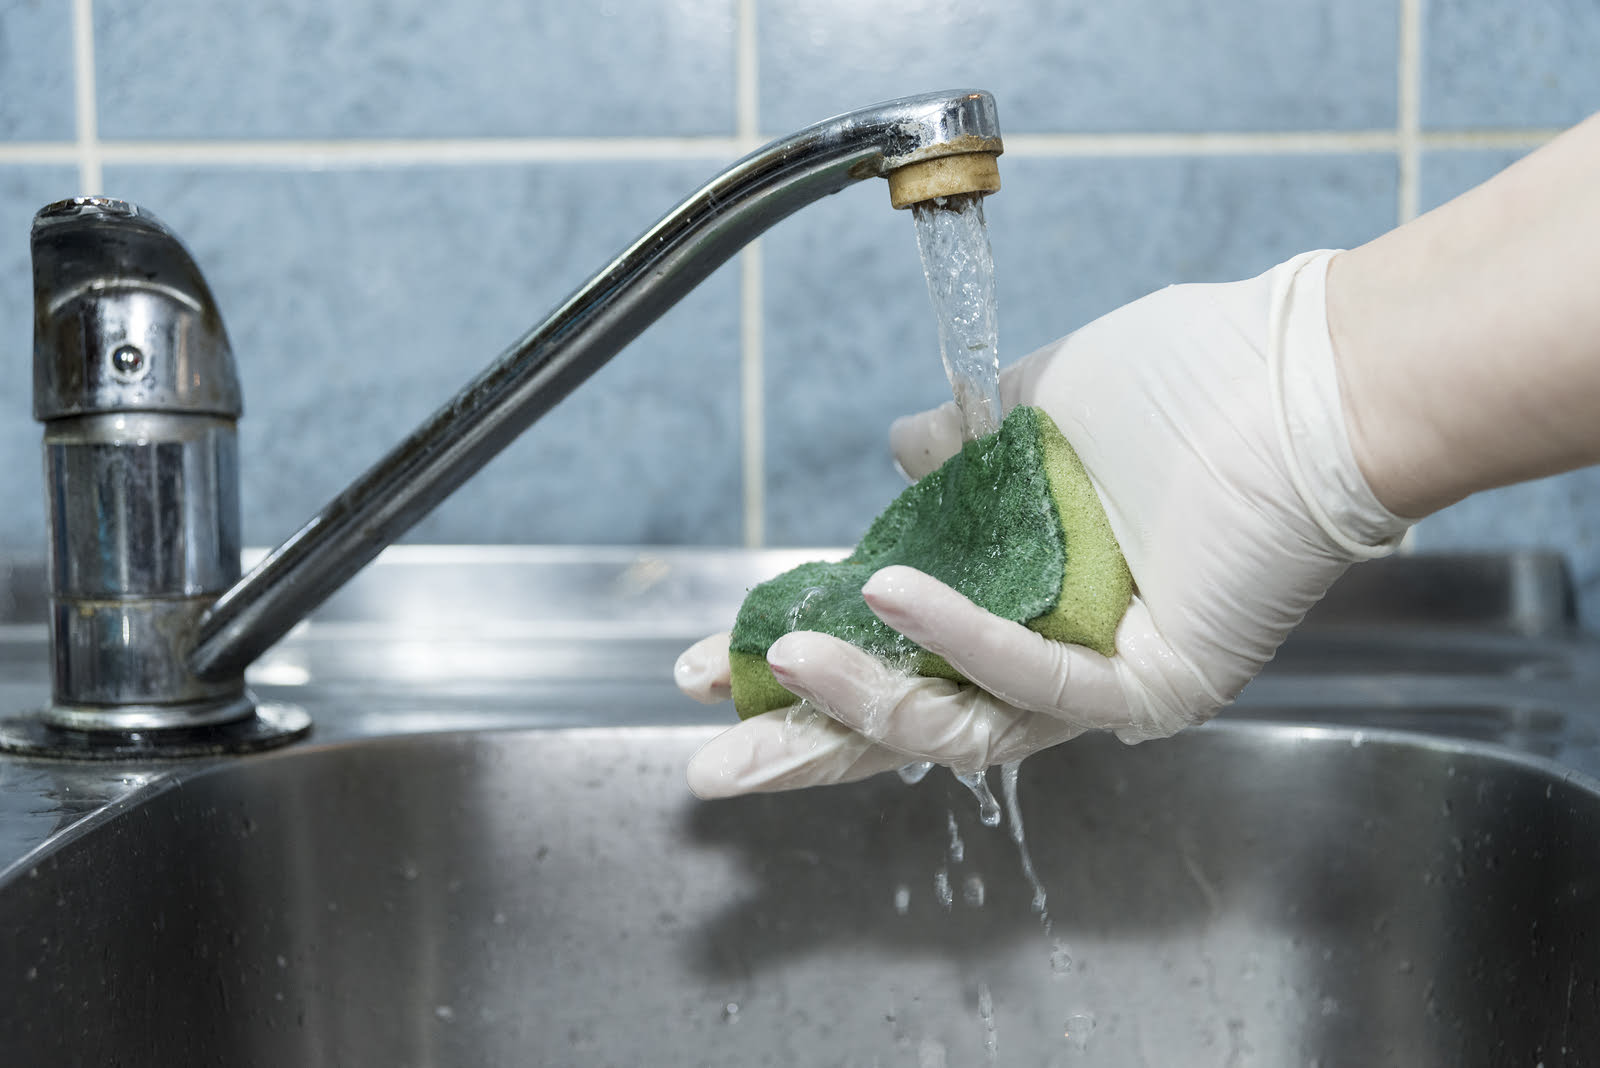
First, fill a bucket with hot water and use a sponge or wet paper towel to soak the sticker. This should help release the glue from the car, regardless of whether it’s stuck to the paint or a window. Similarly, if water alone doesn’t seem to do the trick, you can amp things up by soaking the sticker in white vinegar. A well-soaked sponge is usually the best approach to this step, too.
If you can get a corner to loosen, try spraying a little WD-40 in between the car’s surface and the bottom side of the sticker. WD-40’s cleaning properties have plenty of uses, and when used as an adhesive remover, can make scraping progress more easily. While you’re peeling back the sticker, be sure to reapply WD-40 to it as necessary.
There are a few commercial products, such as Goo Gone, specifically designed for removing stubborn stickers. Rub this all over the sticker and its edges. Let it sit for five to ten minutes and then give it another try with your scraper.
After using any of these tactics, make sure you clean the affected area with your cleaning solution and rag.
Avoid the Paint Next Time
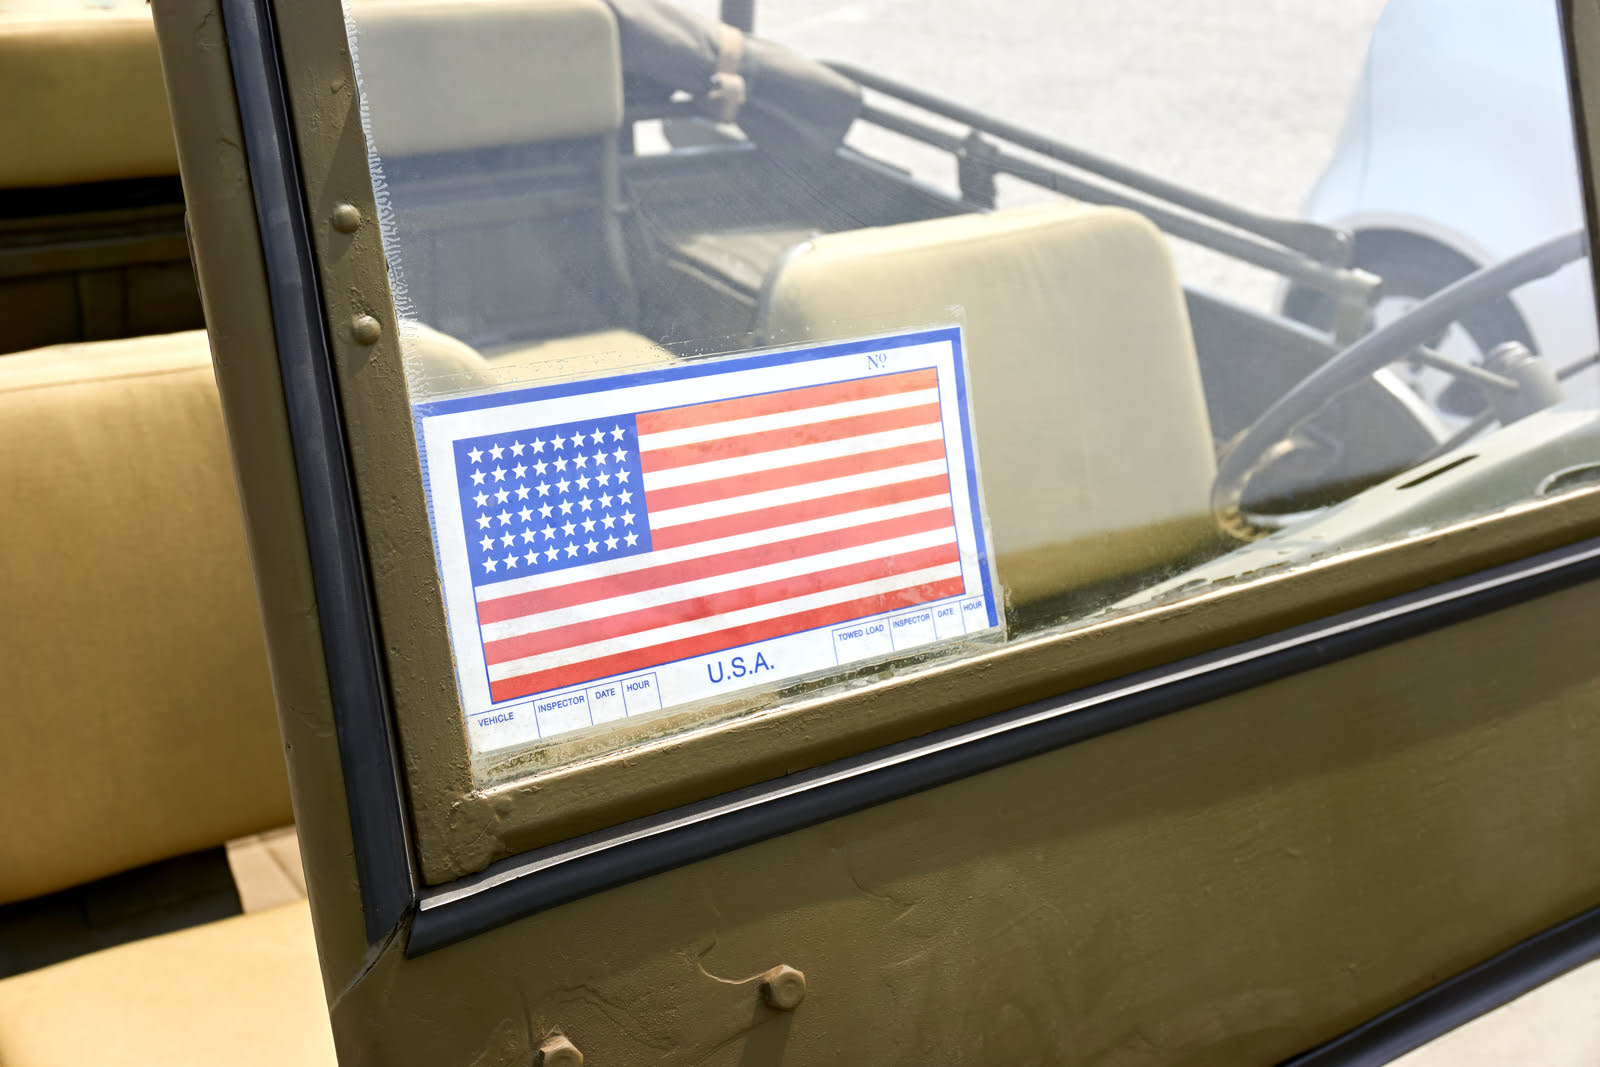
If you haven’t already guessed, removing a sticker from your car’s window is much easier and less risky than pulling one off its paint. When removing a sticker from glass, rather than paint, you don’t need to worry as much about protecting the base material. This means you can be more liberal with your heat gun and you can use a razor blade (which has a much finer edge than an old library card) to peel the sticker away from the glass.
If you’d prefer to see your favorite sticker on the back of your car, consider applying it first to a bumper magnet, which you can then stick to one of your car’s metal body panels.
The Bottom Line
You could have any of a thousand different reasons for wanting to remove a sticker from your car. Maybe you’re trying to sell it and don’t want to turn off potential buyers. Maybe that political candidate lost the election. Maybe your child missed honor role this semester. Whatever the reason, with the right tools, a little preparation, and a bit of patience, you can have that sticker off your car’s bumper in no time.
Related Topics
What to Fix Before Trading In a Car
Using Touch-Up Paint to Fix Your Car
The Right Way to Wash Your Car